Starting your glass jar organization journey? These ten essential tips will help you avoid common pitfalls and create a pantry system you'll love from day one. Learn from the collective wisdom of thousands who've successfully transformed their kitchens.
1 Start Small, Think Big
Don't try to organize your entire kitchen in one ambitious weekend. Start with one shelf or one category of ingredients. Success breeds motivation—once you see how beautiful a single shelf looks, you'll be eager to continue. Beginning small also lets you test jar sizes and arrangements before committing to a full pantry makeover.
2 Measure Twice, Buy Once
This old carpenter's wisdom applies perfectly to glass jar purchases. Measure your shelf heights, depths, and widths before buying jars. Account for lid clearance—jars need space to open fully. Nothing's more frustrating than receiving beautiful jars that don't fit your shelves. Take photos of your pantry with measurements noted to reference while shopping.
3 Prioritize Seal Quality Over Aesthetics
A beautiful jar with a poor seal is a waste of money. Airtight seals keep ingredients fresh, prevent pest issues, and maintain flavor. Look for jars with rubber or silicone gasket seals and secure closure mechanisms. Test seal quality before filling—the lid should create noticeable resistance when opening and closing.

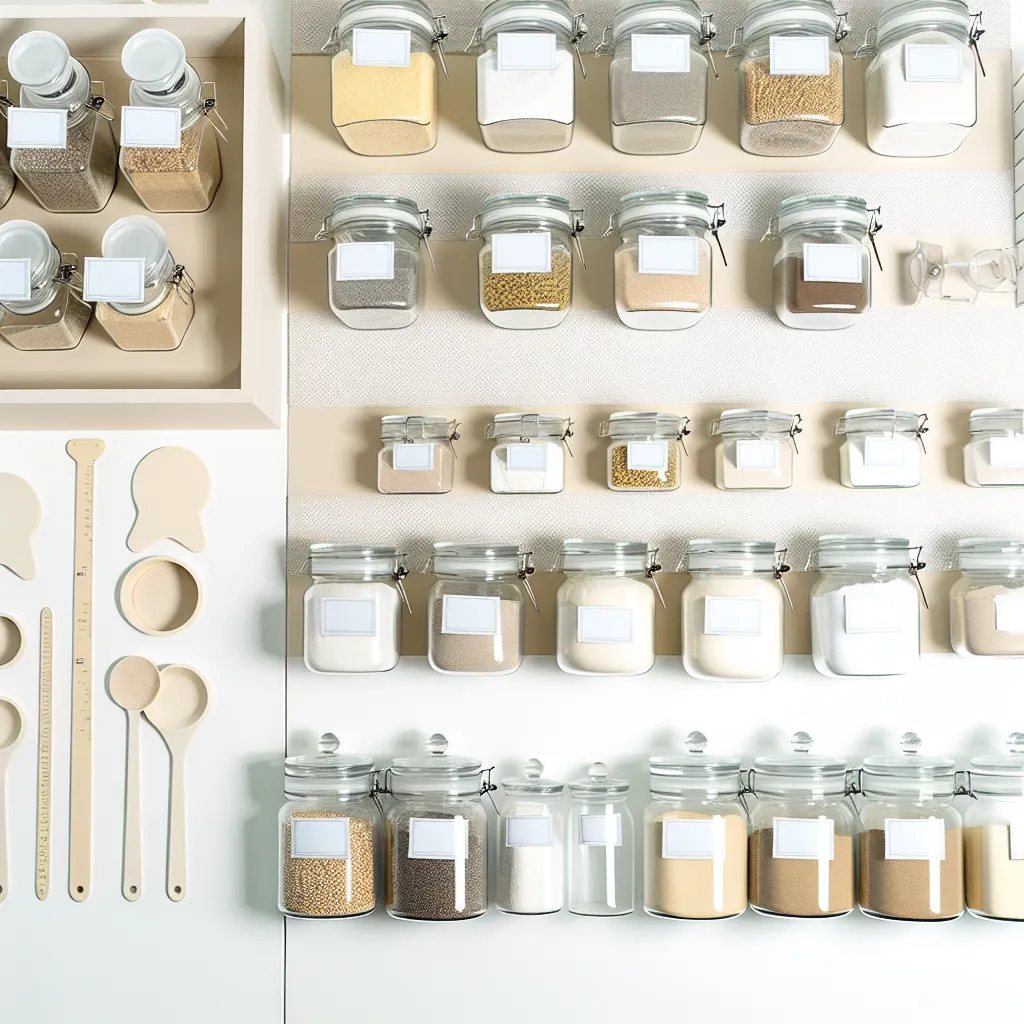
4 Label Everything Immediately
Even if you think you'll remember what's in each jar, label them right away. Similar-looking flours, sugars, and grains can be confusing weeks later. Include purchase or transfer dates when relevant—this helps track freshness. Consistent labeling also makes your pantry look professionally organized.
5 Leave Headspace in Jars
Resist the urge to fill jars to the brim. Leave 20-30% empty space at the top for several reasons: easier scooping without spills, room for ingredients to move and settle, and space for measuring cups to fit inside the jar. Overfilled jars become frustrating to use and defeat the purpose of convenience.
6 Group by Usage, Not Just Category
While grouping baking supplies together makes sense, go deeper. Position frequently-used ingredients at eye level regardless of category. Reserve lower shelves for bulk items and higher shelves for occasional-use ingredients. Your pantry should work with your natural cooking habits, not against them.
7 Invest in a Few Different Sizes
Variety is key to efficient storage. While matching jars look beautiful, different sizes serve different purposes. Small jars for spices, medium for everyday staples, large for bulk ingredients. Having the right size for each ingredient type maximizes space and creates better visual flow than forcing everything into uniform jars.
8 Clean and Dry Thoroughly Before First Use
New jars may contain manufacturing residue or dust. Wash with warm soapy water, rinse well, and dry completely before filling. Even tiny amounts of moisture can affect ingredient freshness and cause clumping in dry goods. Air dry upside down overnight or hand-dry with lint-free towels.
9 Freeze New Dry Goods Before Transferring
Professional tip: Freeze flour, grains, nuts, and dried fruits for 48 hours before transferring to jars. This eliminates any potential pest eggs that might be present in bulk products. It's an extra precaution that prevents heartbreaking pantry infestations. Let items return to room temperature before jarring to avoid condensation.
10 Plan for Maintenance from Day One
The most beautiful pantry organization fails without maintenance. Establish simple habits immediately: return jars to designated spots after use, wipe exteriors weekly, add items to shopping lists when running low. Schedule a quarterly 30-minute pantry review to assess what's working and adjust what isn't. Sustainable organization requires minimal but consistent effort.
Bonus Tip: Take Progress Photos
Document your transformation journey! Before, during, and after photos provide incredible motivation. They also help you remember what worked during your initial organization for future reference. Plus, sharing your success might inspire friends and family to tackle their own pantry challenges.
Your Journey Starts Now
These ten tips distill lessons learned from thousands of successful pantry transformations. They'll help you avoid common beginner mistakes and create a system that's both beautiful and functional from the start.
Remember: perfectionism is the enemy of progress. Your first arrangement doesn't need to be flawless—organization systems naturally evolve as you use them. Start with these fundamentals, and you'll create a glass jar pantry that brings daily joy for years to come.
Ready to begin? Check out our Complete Beginner's Guide for step-by-step transformation instructions, or explore our Programs for in-depth organization systems.