Welcome to Glass Jar Organization
Starting your glass jar pantry journey can feel overwhelming, but with the right approach, transformation is achievable in just one weekend. This comprehensive guide walks you through every step, ensuring success from the very beginning.
Step 1: Assess Your Current Pantry
Before purchasing anything, understand what you're working with:
- Measure your pantry shelf dimensions (height, width, depth)
- Count existing food items that need storage
- Note which ingredients you use most frequently
- Identify pain points in your current organization
- Take "before" photos for motivation
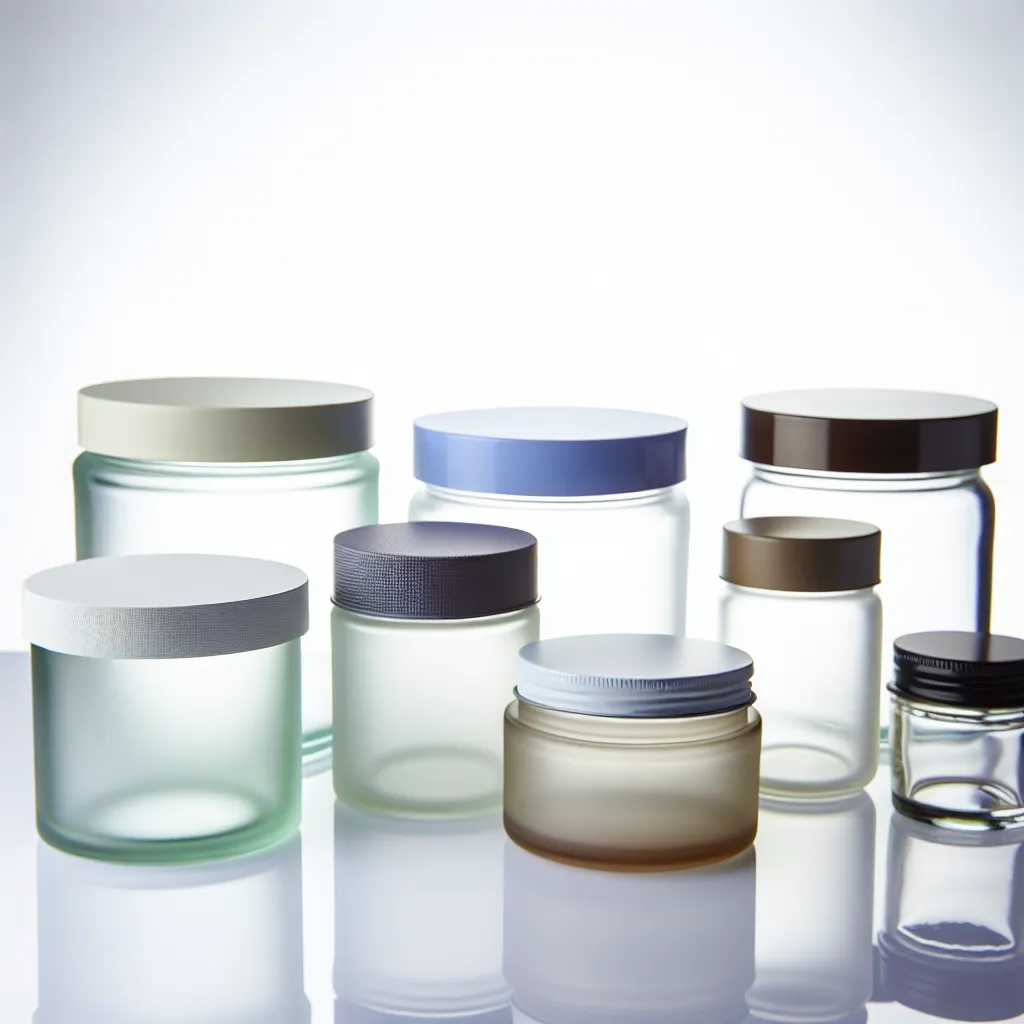
Step 2: Choose Your Jar Collection
For beginners, we recommend starting with this versatile collection:
- Small jars (250-500ml): 4-6 jars for spices, herbs, seeds
- Medium jars (750ml-1L): 6-8 jars for sugar, coffee, nuts, dried fruits
- Large jars (1.5-2L): 4-6 jars for flour, rice, pasta, oats
Look for these features in quality jars:
- Airtight seals with rubber or silicone gaskets
- Clear, thick glass without bubbles or defects
- Wide mouths for easy filling and scooping
- Secure lid mechanisms (clamp, screw-top, or bamboo)
- Stackable designs if you have limited space
Step 3: Prepare for Transformation Day
Set aside 4-6 hours for your initial organization. Gather these supplies:
- All your new glass jars
- Dish soap and clean towels
- Labels and permanent markers or label maker
- Shelf liner (optional but helpful)
- Trash bags for expired items
- Small funnel for transferring ingredients
Step 4: The Transformation Process
Empty Everything: Remove all items from your pantry. This is your chance to deep clean shelves and assess every item.
Sort and Purge: Discard expired items. Group similar ingredients together. Donate unopened items you won't use.
Clean Your Jars: Wash all new jars with warm soapy water. Dry completely before filling—even small amounts of moisture can affect ingredient freshness.

Transfer Ingredients: Pour dry goods into appropriate jars. Fill to about 70-80% capacity for easy scooping. Use a funnel to prevent spills.
Label Everything: Include ingredient name and optionally purchase date or expiration. Place labels at consistent heights for visual uniformity.
Arrange Thoughtfully: Place frequently used items at eye level. Group by category. Position tallest jars at back, shortest at front.
Step 5: Establish Maintenance Habits
Make your organization last with these simple habits:
- Return jars to their designated spots after each use
- Wipe jar exteriors weekly during regular kitchen cleaning
- Add items to shopping list when jars get low
- Do a 30-minute quarterly assessment and adjustment
Common Beginner Mistakes to Avoid
Buying Too Many Jars Initially
Start with essentials. You can always expand your collection as you discover what works for your cooking style and space.
Ignoring Seal Quality
Cheap jars with poor seals defeat the purpose. Invest in quality—your ingredients will stay fresh much longer.
Overfilling Jars
Leave headspace for easy scooping and ingredient movement. Packed-full jars become frustrating to use.
Skipping Labels
Even if ingredients look obvious now, labels prevent confusion later, especially with similar-looking flours or sugars.
Not Measuring First
Buying jars that don't fit your shelves is an expensive mistake. Always measure before purchasing.
Your First Week: What to Expect
The first week with your new system feels amazing. You'll open your pantry doors repeatedly just to admire the transformation. This is normal and wonderful!
You might find yourself adjusting jar positions as you discover your natural reach patterns. This is good—your system should evolve to serve you perfectly.
Friends and family will comment on the change. Share your experience! Many people struggle with pantry organization and appreciate seeing what's possible.
Next Steps
Once comfortable with basics, explore our advanced programs:
- Jar Sizing Systems for optimization
- Creative Labeling Ideas to enhance aesthetics
- Shelf Alignment for professional-level organization
- Seasonal Restock Routines for long-term maintenance
Congratulations on starting this journey! Your organized, beautiful glass jar pantry awaits. Remember: progress over perfection, and enjoy the process.